How to update certificates in Lawson & Landmark
IIS
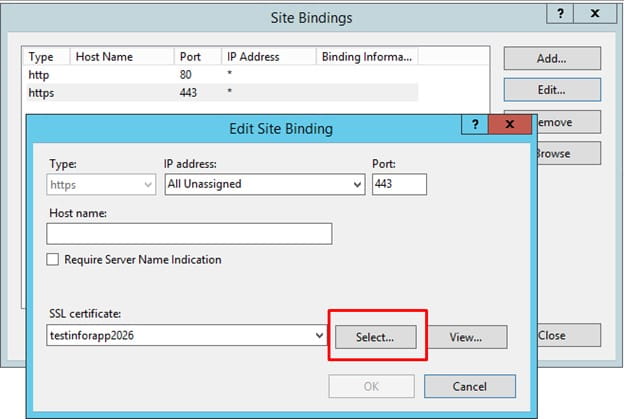
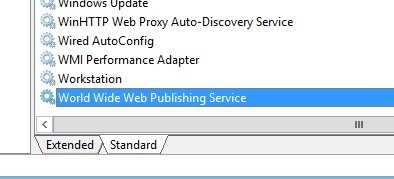
The process to update web certificates in Lawson & Landmark is virtually the same. First, change the selected certificate in the “Bindings” on the website. Restart the World Wide Web Publishing service for the change to take effect.
WebSphere
Some sites use the default WebSphere generated certificate, which auto-renews. In the event that your organization has configured WebSphere to use an organizational server or wildcard certificate, you will also need to replace that certificate in WebSphere. First make sure that you have a pfx file stored locally on the server, and that you have the private key for that file.
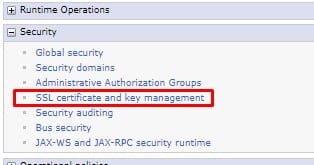
Open the console manager and navigate to Security > SSL certificate and key management
Select the CellDefaultKeyStore
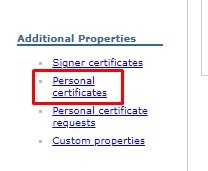
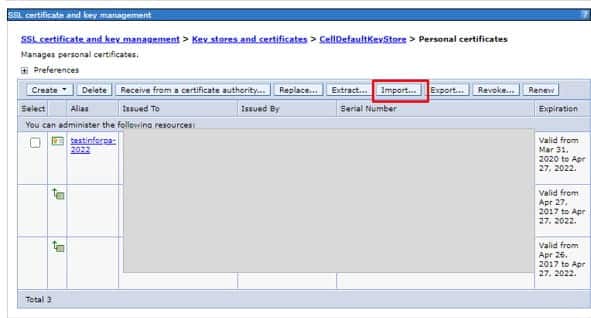
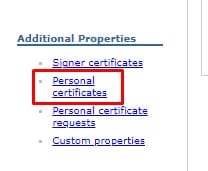
Select Personal Certificates
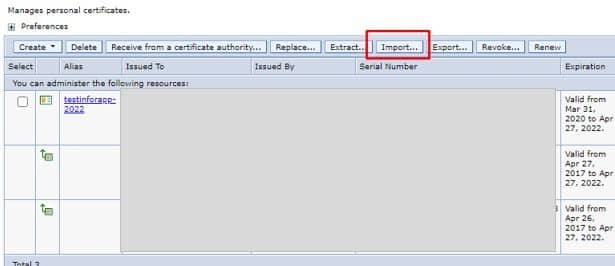
Import the new certificate first.
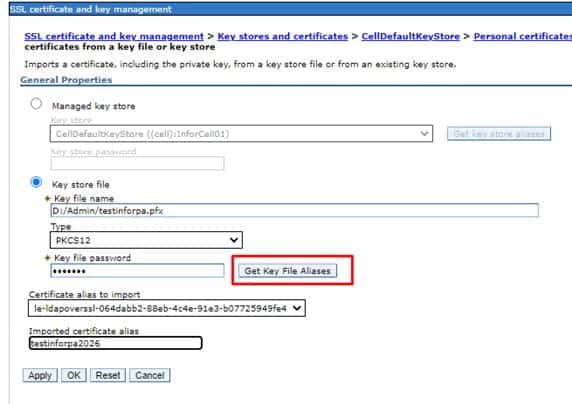
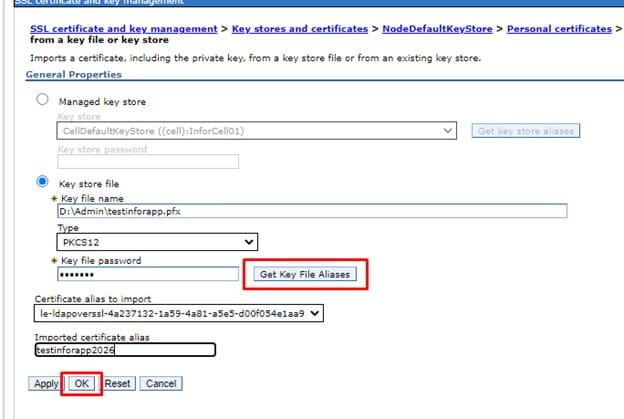
Set the path to where you have saved the file locally, and enter the password. Click “Get Key File Aliases” to get the certificate information. Enter a meaningful alias for the certificate.
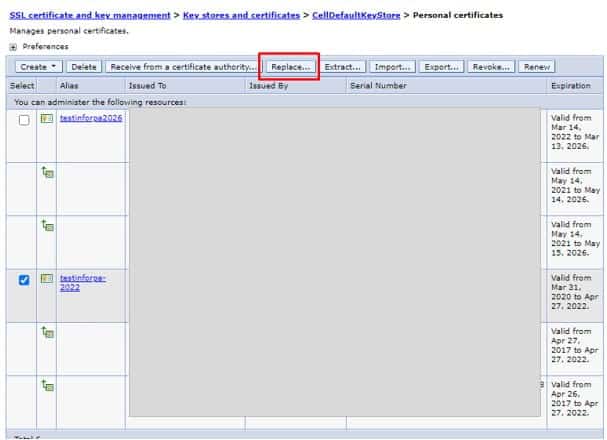
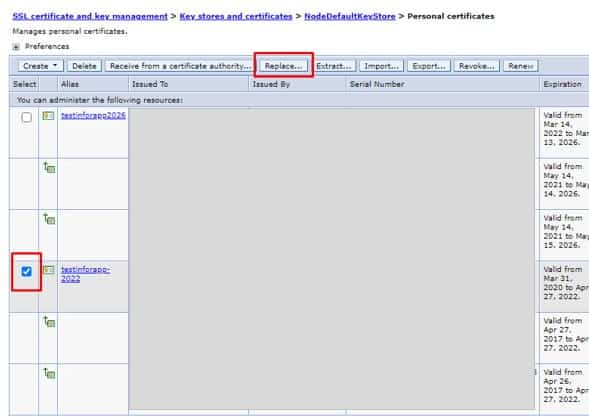
Select the old certificate and click “Replace…”.
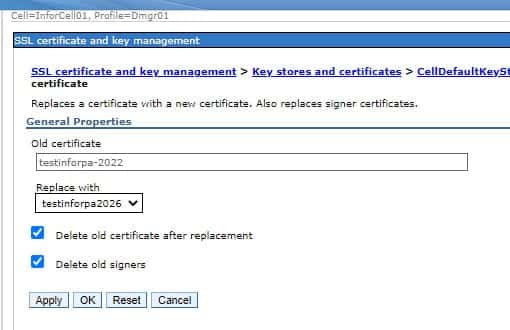
Select the new certificate as the replacement. Check the boxes to Delete the old certificate and signers.
Follow these same steps for the NodeDefaultKeyStore
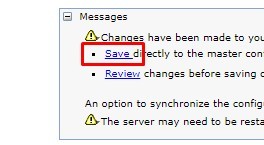
Save the changes to the master configuration.
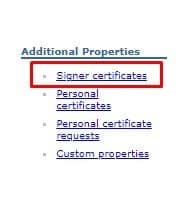
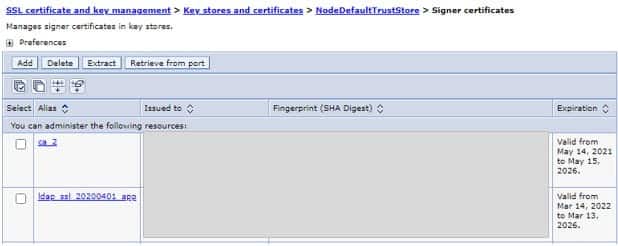
Validate that the Trust Store certs were updated by going into NodeDefaultTrustStore and CellDefaultTrustStore > Signer certificates
Web Server
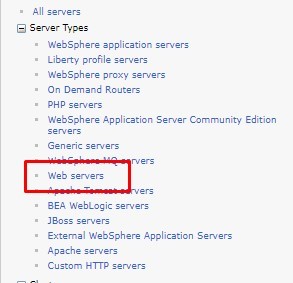
Copy the new certificate to the Web server. In console manager, go to Server Types > Web servers.
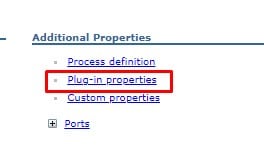
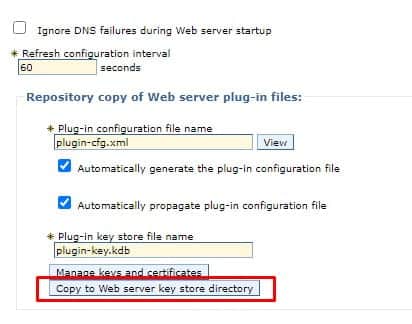
Click “Plug-in properties” on the right under Additional Properties. Select “Copy to Web server key store directory”
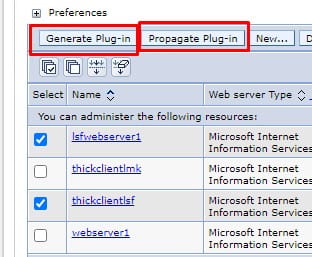
Generate and propagate the plugins for the web server.
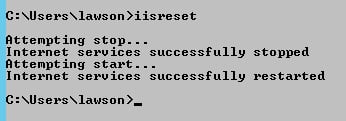
Run an iisreset command, or restart the WWW publishing service.
Your certificates are updated! You can validate this by going to the web site and looking at the certificate (click the little lock). You can compare the thumbprint of the website certificate to the new certificate you just added.


