Creating an LBI Smart Notification Series – Creating an Info Set (Part 1)
LBI Smart Notifications are reports that are sent directly to users for reviewing vs a user logging into LBI to manually view a report. In this section we will first start off with an Intro to creating an Info Set.
- Login into LBI (admin permission required) >> go to Tools >> Select Smart Notification
- In Smart Notification, select Admin at the top >> Work with InfoSets
- Click Add to start creating an InfoSet
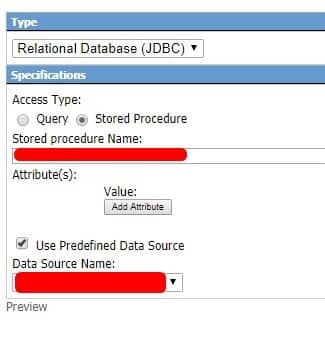
- InfoSet Wizard should start >> Select the type of Info Set you want
- Click Next or go to Step 2 Define Info Set
- In this section you will be defining your data depending on what type you select.
- This data can include defining column data, number/string format etc.
- Click Next or go to Step 3 Specify Links
- This section allows you to add file or class links which is dependent on your organization’s needs and what the notification will be used for.
- Click Next or go to Step 4 Save InfoSet
- In this section you can add a Name, Description, set a group name.
- Also allows you to add additional access, filter certain content, even categorize or limit the InfoSet.
- Once done with Step 4, click Save As New at the bottom to finish your InfoSet
That’s it! Smart Notifications and InfoSets have a lot of customizability, most of which aren’t necessary to get it going.
See Part 2 of this series titled “Creating an LBI Smart Notification Series – Creating a Smart Notification (Part 2)” to find out how to add this InfoSet to a new Notification report. Good luck!


