Create a File Channel in IPA
File Channels are a feature in IPA that is similar to the ScanFile Client feature in ProcessFlow. A File Channel scans a directory periodically for files which will kick off processes in IPA. The files and processes are configured in File Receivers. Here is how to set them up.
How to Set up File Channels
- Log in to Rich Client
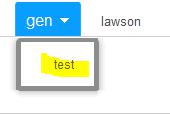
- The canvas is now open. Look in the upper left corner and make sure you are pointing to the prod or test data area (not gen)
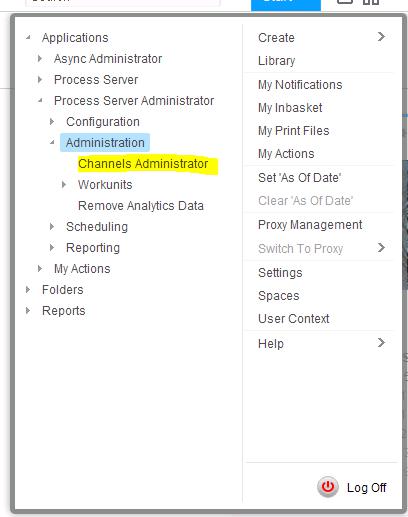
- In the upper right corner, click “Start > Applications > Process Server Administrator > Administration > Channels Administrator”
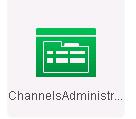
- Once you are in Channels Administrator, click on the File Channels tab
- Click Actions > Create or click the create icon
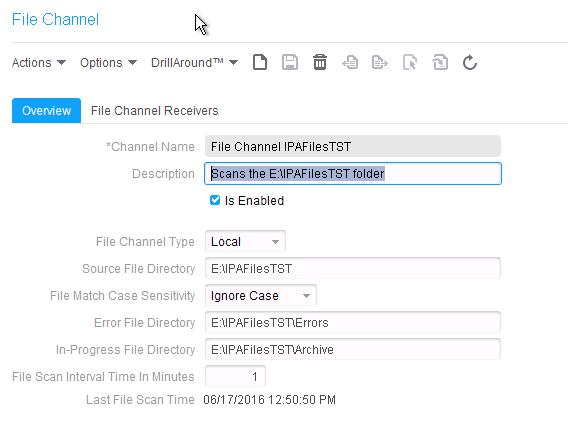
- Overview Tab
- Enter a meaningful channel name
- Enter a description for the channel
- Check “Is Enabled”
- This can be unchecked when the file scanner is not needed
- Choose the channel type
- Local points to a directory on the local server
- Remote requires FTP to be enabled on the local server and the remote server
- Enter the directory that will be scanned by the file channel
- Choose whether to match case sensitivity on the file
- Enter an error file directory
- This is where files will go if there is an error in the scanning (NOT an error in the flow)
- Enter an in-progress file directory
- This is where files will go once they are successfully scanned
- Choose a scan interval (in minutes)
- Click the Save icon
How to Set up File Channel Receivers
- Once you have created your File Channel, you must now set up the File Channel Receivers, which will configure the files that are picked up during a scan
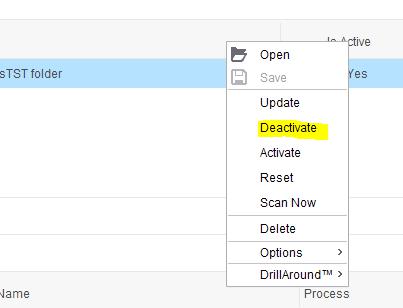
- Make sure your File Channel is deactivated
- Open your new File Channel and navigate to the File Channel Receivers tab
- Click Actions > Create or click the create icon
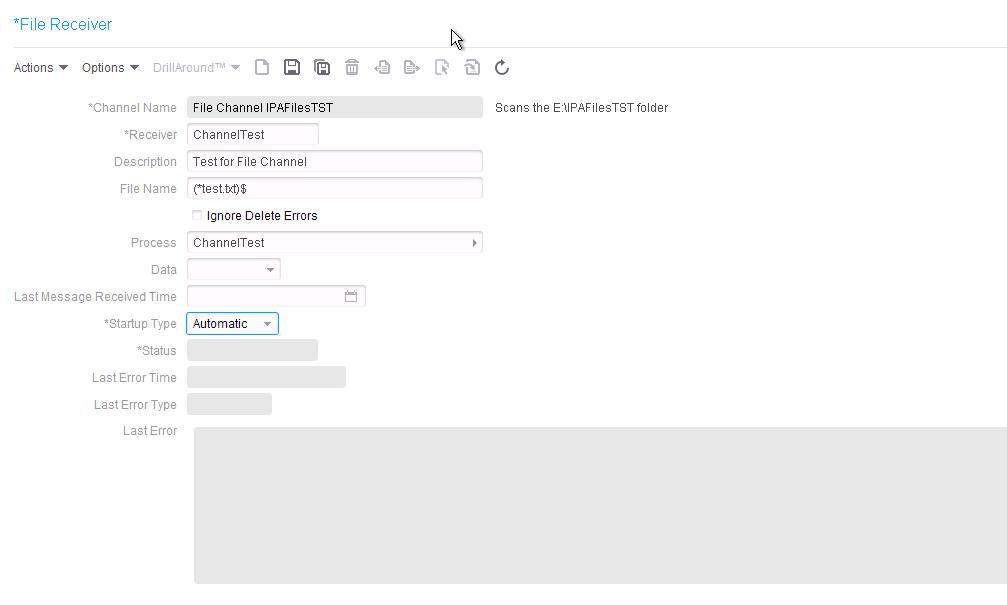
- Enter the Receiver details
- Enter a name for the Receiver
- Enter a description
- Choose the file name for which the receiver will be scanning
- You can use regular expressions here
- Select the process that should begin when the file is found in a scan
- Choose the Startup Type
- Click the Save icon
- Be sure to reactivate your File Channel so that it can begin scanning for your files


